Can You Scan to Laptop Using Ethernet Epson 3850?
Introduction
Scanning documents directly to a laptop using Ethernet can greatly increase efficiency, especially in office environments. One device that supports this feature is the Epson 3850. Many users might wonder if it's feasible to scan documents directly to their laptops using an Ethernet connection with this particular model. This blog will explore how to set up and utilize your Epson 3850 for Ethernet scanning, detailing each step to ensure a smooth process.

Understanding the Epson 3850 and Its Ethernet Capabilities
Before diving into the setup process, it’s essential to understand the features of the Epson 3850 that enable Ethernet scanning. The Epson 3850 is a reliable all-in-one printer, renowned for its high-quality print, copy, and scan functionalities. One of its standout features is the ability to connect via Ethernet, which offers a more stable connection compared to Wi-Fi.
Through an Ethernet connection, you achieve:
- Faster data transfer rates
- A more secure connection
- Lower latency, leading to quicker scanning processes
Having a robust Ethernet connection ensures that your documents are transferred swiftly and securely to your laptop, making the Epson 3850 an excellent device for high-volume scanning tasks.
Setting Up the Epson 3850 for Ethernet Scanning
Properly setting up your Epson 3850 is crucial to ensure it can scan documents over Ethernet. Follow these steps to get your printer ready:
- Connect the Printer to the Network:
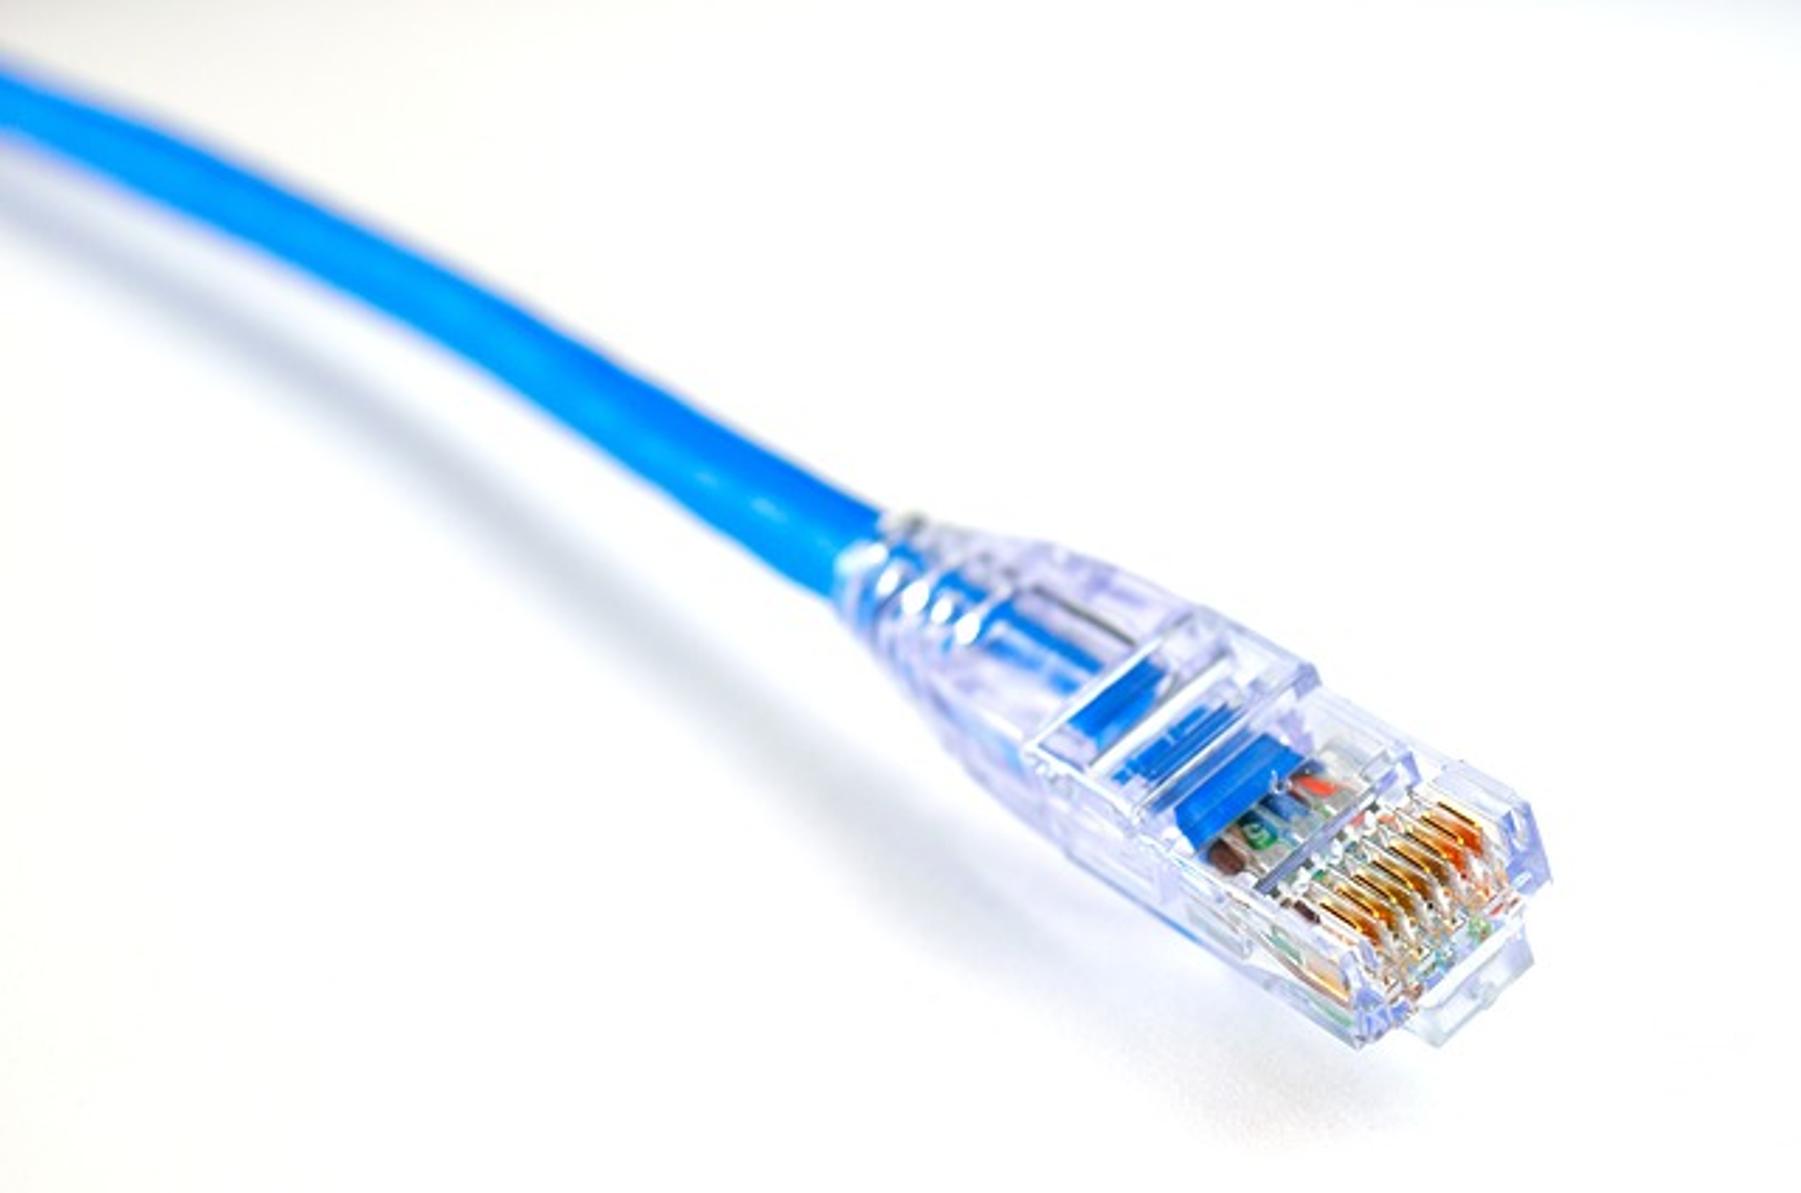
- Plug an Ethernet cable into the Ethernet port located at the back of the Epson 3850.
-
Connect the other end of the Ethernet cable to an available port on your router.
-
Configure Network Settings:
- Power on your Epson 3850 and navigate to the printer's control panel.
- Access the network settings and select ‘Ethernet Setup’.
-
Ensure the printer acquires an IP address from your router.
-
Install Printer Software:
- Download and install the Epson software package from the official Epson website on your laptop.
- Follow the on-screen prompts to add the printer using its network address.
Once properly connected and configured, your Epson 3850 will be ready for networking scanning operations.
Configuring Your Laptop for Ethernet Scanning
With the Epson 3850 set up, the next step involves configuring your laptop to recognize and communicate with the printer over Ethernet.
- Verify Network Connection:
- Ensure that your laptop is connected to the same local network as the Epson 3850.
-
This can be done via Ethernet cable or Wi-Fi, although Ethernet is preferred for consistency.
-
IP Address Configuration:
- Identify the IP address of your Epson 3850 through its control panel.
-
Open the printer setup utility on your laptop and enter the printer’s IP address.
-
Epson Scan Software:
- Open the Epson Scan software on your laptop.
- Navigate to the network settings, select ‘Add’, and input the printer’s IP address.
- Save the settings. Your Epson 3850 should now be listed as a network scanner within the software.
Completing these steps ensures that your laptop is ready for scanning operations via Ethernet.
Step-by-Step Scanning Process
After setting up the hardware and configuration, you can now scan documents directly to your laptop using the following steps:
- Load Documents:
-
Place the documents you wish to scan into the Epson 3850’s scanner tray.
-
Open Epson Scan Software:
- Launch the Epson Scan software on your laptop.
-
Ensure the Epson 3850 is selected as the scanner.
-
Choose Scanning Mode:
-
Select your preferred mode (e.g., Document, Color, Black & White) and adjust settings such as resolution and format.
-
Initiate Scan:
- Click the ‘Scan’ button.
- Monitor the progress. Once completed, the scanned documents will be saved to your specified folder on the laptop.
By following these steps, you can easily transfer scanned documents to your laptop over Ethernet.

Troubleshooting Common Issues
Even with a robust setup, issues can arise. Here’s how to resolve common problems:
- Printer Not Recognized:
- Verify the Ethernet cable connections.
-
Confirm both printer and laptop are on the same network.
-
Scan Fails to Initiate:
- Restart both the printer and laptop.
-
Check for software updates on the Epson website.
-
Poor Scan Quality:
- Ensure the document is correctly placed on the scanner.
- Adjust scanning resolution settings.
These troubleshooting steps help maintain a consistent scanning experience.

Tips for Optimal Scanning Experience
To enhance your scanning efficiency and quality, consider the following tips:
- Regular Maintenance:
- Keep the scanner glass clean to avoid smudges.
-
Perform routine software updates.
-
High-Resolution Settings:
-
Adjust the settings for higher resolution scanning when needed for detailed documents.
-
Organize Digital Files:
- Use clear naming conventions and organized folders to manage scanned documents effectively.
Implementing these tips ensures smooth and efficient scanning operations.
Conclusion
Scanning to a laptop using Ethernet with the Epson 3850 is a seamless process when properly configured. By following the steps outlined and utilizing the tips provided, you can significantly enhance your productivity and scanning experience. This approach not only ensures stable connections but also quick and secure document transfers.
Frequently Asked Questions
Can I scan to my laptop using Wi-Fi instead of Ethernet with the Epson 3850?
Yes, the Epson 3850 supports both Wi-Fi and Ethernet connections for scanning. Follow similar setup instructions but choose Wi-Fi settings instead.
What should I do if my laptop does not recognize the Epson 3850 over Ethernet?
Ensure both devices are on the same network and confirm the Ethernet cable is securely connected. Additionally, restart both devices and check for IP address conflicts.
Are there specific software requirements for scanning using Ethernet?
Yes, ensure you have the latest Epson Scan software installed on your laptop, which is compatible with Ethernet scanning.


