Having trouble with your Echo Show 5 camera not working? You’re not alone. Many users encounter this issue and find themselves at a loss regarding the cause. The good news is that there are various solutions to get your camera back on track. In this comprehensive guide, we'll walk you through common reasons for this problem, initial diagnostics, detailed troubleshooting, advanced solutions, and preventive measures to avoid future issues. By the end of this guide, you'll be well-equipped to handle any Echo Show 5 camera issues and keep them from ruining your experience.
There are several reasons why your Echo Show 5 camera isn’t working. Identifying the exact cause helps streamline the troubleshooting process:
Understanding these common causes can help you initiate the troubleshooting process accurately, providing a foundation for more targeted and effective steps.

Before diving deep into complicated solutions, start with these initial diagnostic steps:
These initial diagnostic steps can often fix the issue, saving you from more complex troubleshooting steps. If these don’t resolve the problem, move on to the detailed troubleshooting steps.
Follow these detailed steps if the initial diagnostics did not solve the issue:
Ensure your device is running the latest software version. Go to 'Settings' > 'Device Options' > 'Check for Software Updates'.
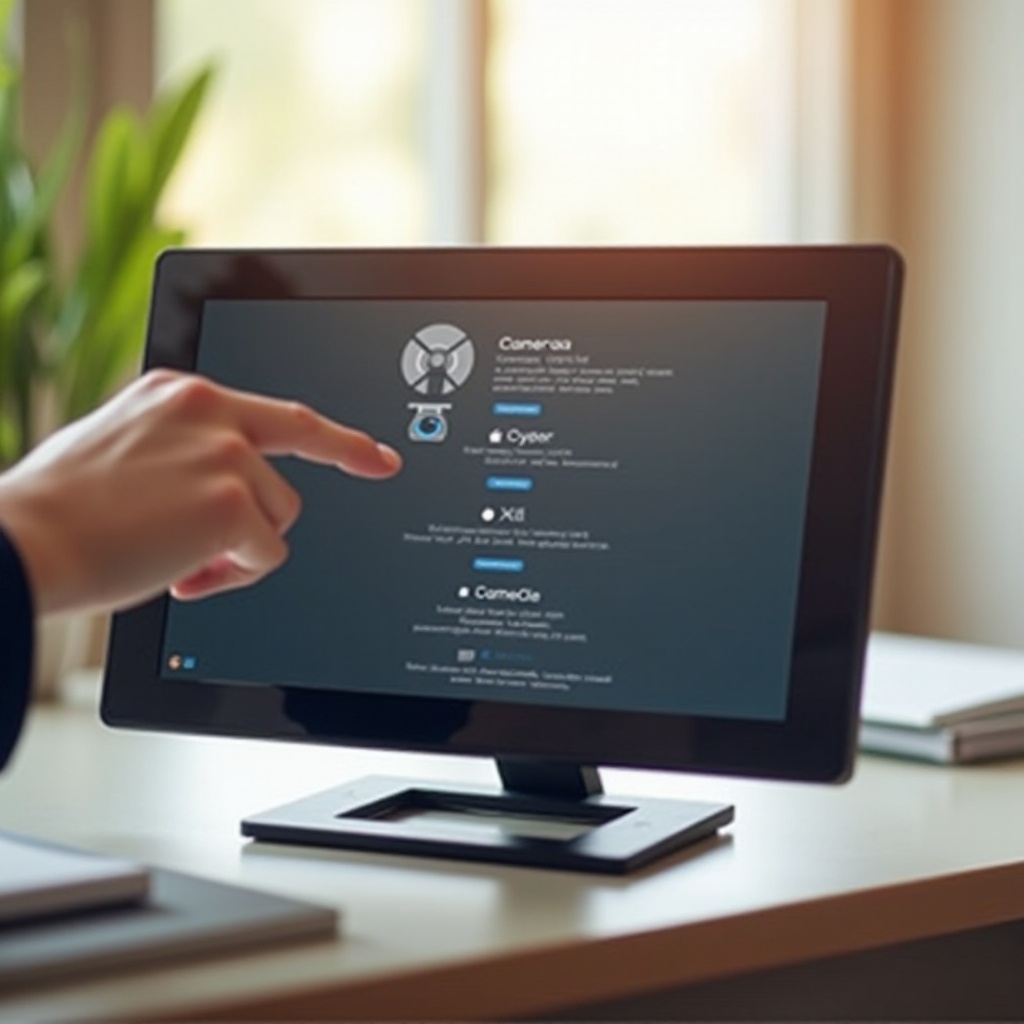
Reset Camera Settings:
Reset to default camera settings by navigating to 'Settings' > 'Device Options' > 'Reset to Defaults'.
Check for Obstructions:
Ensure the camera lens is not covered, dirty, or blocked. Clean it with a soft, clean cloth if necessary.
Perform a Factory Reset:
These detailed steps should help fix most issues. If your camera is still not working, it’s time for advanced troubleshooting.
Advanced troubleshooting involves more in-depth solutions and often requires more technical expertise:
Carefully inspect your device for any signs of physical damage. Any cracks or defects might indicate that the hardware itself is faulty.
Contact Amazon Support:
If hardware damage is suspected or if all troubleshooting steps fail, contacting Amazon customer support is a good next step. They can walk you through additional diagnostics or issue a replacement if your device is still under warranty.
Network Diagnostics:
Advanced troubleshooting is often necessary for persistent issues that are not resolved by basic steps. If none of these solutions work, replacing the device might be the best option.
To avoid future issues with your Echo Show 5 camera, here are some preventive measures:
Regularly check for and install software updates to ensure your device runs smoothly.
Proper Handling:
Handle your device carefully to avoid physical damage. Use a protective case if necessary.
Stable Network Connection:
By following these preventive measures, you can significantly reduce the likelihood of encountering future camera issues.
Fixing an Echo Show 5 camera that isn’t working may seem daunting, but with this comprehensive guide, you should be well-equipped to tackle the problem. Whether it’s a simple restart, detailed troubleshooting, or advanced solutions, following these steps systematically will help you get your camera working again.
If your Echo Show 5 camera is not turning on, check if the device is properly plugged into a power source. Ensure the power adapter is functional and plugged into an outlet. If the device still doesn't power on, perform a hard reset by holding down the power button for 20 seconds.
To reset your Echo Show 5 to factory settings: 1. Swipe down from the top of the screen and select 'Settings'. 2. Navigate to 'Device Options'. 3. Select 'Factory Reset' and confirm the action. This will erase all your data so ensure you’ve backed up necessary information.
Yes, poor Wi-Fi connectivity can impact the performance of your Echo Show 5 camera. Ensure you have a strong and stable internet connection for optimal performance. Try restarting your router or moving the device closer to the router for better signal strength.